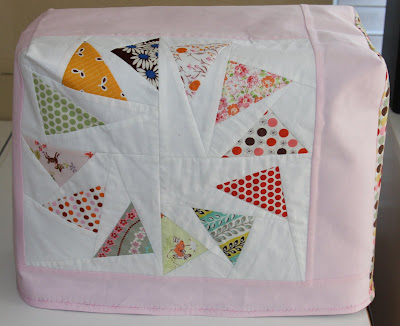
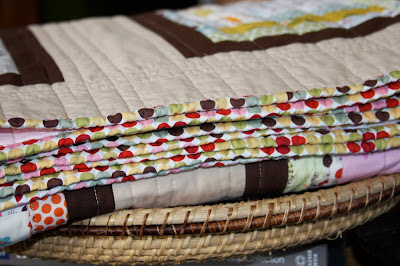
Ok....here it goes. Keep in mind this is my first time writing up a tutorial, so if you need more info or have questions, just let me know. I am a very visual person, so for the sake of this tutorial, I made a second cover for my daughters sewing machine. She plays with my old Kenmore with the needle removed, and loves every second of it....she doesn't even realize that she isn't really sewing!!
What you need:
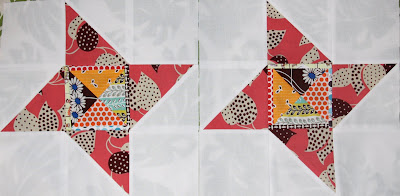
-decorative block (if you want to use the flying geese, like mine, the tutorial for that block it here)
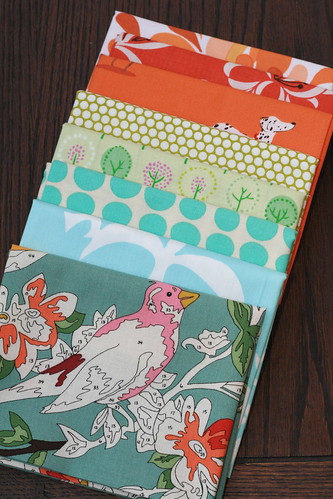
-about a 3/4 yard of fabric, you can piece use smaller pieces and just sew them together
-20" wide fusible interfacing (I used SF-101 by Pellon) enough to match the measurements of your sewing machine. I used about a yard.
-thread to match your choice of fabrics
-marking pen/straight pins

First you need to find the circumference of your sewing machine. I would recommend measuring at the bottom of your sewing machine, a lot of them are wider on the bottom. This machine is 40.5" around the bottom.
The second measurement you want is the height of your machine.

Like my son is demonstrating in this picture, you want to measure from one side over the top to the bottom of the other side. This machine's height measures at 25".
The first measurement will be used to determine the width of your fabric. You want to take the circumference of the machine divide it 2 and then add an inch for seam allowance. For example: this machine measured 40.5" divided by two is 20.25", I then added an inch for 21.25" as the final width measurement of my fabric. The height measurement will let you know how long your cover needs to be. I added an inch to this also.

Before cutting your fabric, you need to decide where you want your decorative block to be located. On my daughters cover I decided to center the decorative block, but on my original cover I offset the decorative block to the left. The decorative block is 11.25", each side panel is 5" wide and 26" long. I chose to put 2.75" of fabric underneath my block. Again, my decorative block is 11.25" + 2.75" below+ a 12" panel above the block to equal my needed length of 26".

I attached the top and bottom panels to my block first. Then the side panels.

Once my cover fabric was assembled, I ironed it to my fusible interfacing. I used interfacing to make my cover stiffer, but you could also choose to make an inner lining, if you wanted a softer look.

Then simply fold your cover in half and sew up both of the sides the sides together.

Then while wrong side out, slip the cover over your sewing machine to pin the corners.

Pin your corners down to the top of your sewing machine. Then slip the cover off and mark your sew lines on your two corners.

Once your corners are sewn closed, trim off the excess leaving a .25"seam.

Turn your cover right side out finish of your cover bottom by folding over the raw edge and pining it in place.

You can use any stitch you desire to finish off your edge, I chose decorative stitches to add a little added touch to my covers.

Your cover is now complete and ready to keep all that unwanted dust off of your treasured machine!

As a side note: I was asked for the measurements of the original cover I made. To be honest, when I made my original cover I did it all by eye, so don't have them. I added in the measuring techniques for this tutorial, with my son's help.


